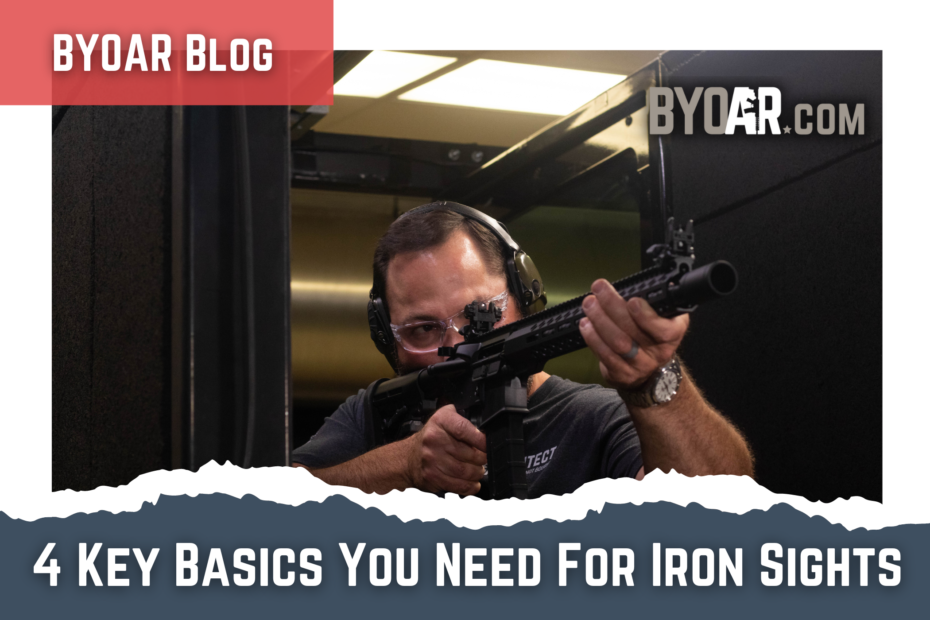
With the prevalence of red dot sights and LPVO (low powered variable optic) scopes, the use of iron sights and the knowledge of how and why they work are becoming lost in the modern era of the sporting rifle. If you want to put a set of BUIS (backup iron sights ) on your rifle here are the top four things you should know.
1.) Sight picture, what is it, and what should it look like?
Sight picture is the whole package, the rear sight, the front post, and the intended target. Your front sight post should be centered horizontally and vertically in your rear sight. Then you should place the intended target at the top of the post. Most of us old-school guys know this from either our military days or our first guns without any optics. Many new or younger shooters will recognize this from your first-person shooter video games.
2.) Why do I have two different sight openings on my rear sight?
The human eye cannot focus on two things at one time. However, by channeling light and narrowing your field of view you can mitigate this issue. Most AR BUIS have two apertures to look through, you can flip from one to the other. The larger opening is the ghost ring. This opening is best used in low light conditions as the larger opening allows more light into your eye. The best use of this sight is in CQB (close quarters battle) range low light conditions. Focusing on your target while looking through the ghost ring place the front sight post, which will be slightly out of focus or fuzzy, in line with the target, and pull the trigger.
The smaller opening is the peep sight, best used in longer-range precision shooting daylight conditions. The smaller opening allows less light into the eye and the narrow field of views focuses the eye on the front sight post while still giving decent clarity of the intended target. A longer sight radius will help with this also. We will dive into the sight radius in a minute. With the peep sight you want to focus on the front sight and again centering the post on the intended target which will be slightly out of focus, pull the trigger. With both setups, you want to be fairly close to the rear sight with your eye. You do not want the 4+ inches of eye relief typically associated with scopes. This long eye relief will negate the benefits of the ghost ring and the peep sight.
3.) Sight Radius, what is it and why does it matter.
Simply stated it is the distance from the rear sight to the front sight. And the longer the better from an accuracy standpoint. You need to understand a little geometry here. 1 degree of angle at 1 inch of length is a variation of .017 of an inch. So if your front and rear sight are 4 inches apart 1 degree of error is .068 of an inch. Now move your sights 20 inches apart and that number becomes .340 of an inch or almost 3/8”. You are less apt to notice small errors in alignment over 4 inches than you are over 20 inches. So with a longer sight radius, you can make finer alignment adjustments that will make you inherently more accurate.
4.) Zeroing out iron sights
Start with your rear sight centered and your front post base level with the main body of the front sight. Take a 3 shot group. Your front sight is your elevation or up and down. Typically 1 click is 1 moa or inch at 100 yards. If your group is high move your pin up to force your barrel down.
Your rear sight is your windage or right to left. Again typically 1 click is 1 moa or 1 inch at 100 yards. If your group is right move your rear sight to the left, forcing you to move the barrel to the left to realign the sights. Front sight up is up and down is down. Rear sight right is left and left is right. (most rear sights are marked right and left so it’s easy to figure out as long as they are installed properly with the windage knob on the shooter’s right)
No scope or red dot is infallible. So BUIS are a must for a tactical rifle you will put your life on the line with. Get to know them and understand them before you need them.
Be safe, shoot straight and have fun.


